How to Do HIIT with Bad Knees: The Ultimate Guide
How To Do HIIT With Bad Knees ? | Best HIIT Workouts Bad Knees
We prepared the best HIIT workouts for those who have knee pain and want to lose weight. If you have knee pain and you are scared to try HIIT, you won’t be afraid anymore ! You will learn how to do HIIT with bad knees. You will now be able to get rid of your weight as soon as possible despite your knee pain.
However, depending on the severity of your knee problem, you may not have to completely abandon your calorie-burning workout. We asked a personal trainer for advice on how to make HIIT less taxing on the knees, from simple changes to the importance of warming up.
What Is HIIT (High Intensity Interval Training) And How Does It Work ?

The term “high intensity” says it all: this isn’t going to be easy. But, on the other hand, it could be! Switching between fast and slow bursts of exercise is what HIIT is all about. You’re doing intense exercise one minute and then resting or doing something much less intense the next.
Interval training is defined as alternating bursts of fast and slow activity. Short bursts of high-intensity exercise are interspersed with longer periods of rest or lower-intensity activity.
How Long Does It Take To Do HIIT ?

Another reason for HIIT’s popularity is the short amount of time it takes to complete. Instead of spending an hour in the gym, you can do your workout in as little as 15 minutes and reap the same benefits. If you’re short on time, scroll down to the bottom of this page for three quick HIIT workouts for bad knees.
HIIT Is Good For Who ?

The beauty of HIIT is that it can be tailored to fit the needs of any adult, regardless of their fitness level. You can push yourself hard if you’re already fit and healthy. Take it slow and easy when you’re first starting out until you’ve gained confidence and experience.
If you’re new to exercise or haven’t exercised in a long time, consult your doctor or a health professional before beginning.
What Are The Advantages Of High-Intensity Interval Training ( HIIT ) ?
# It Saves Your Time.

A complete workout can last as little as 15 minutes or as long as 45 minutes due to the high intensity format. This format allows the body to burn more calories in less time because it is working at such a high intensity.
# It Maintains High Metabolic Rate Throughout The Day.

HIIT not only burns calories during the workout, but it also keeps the metabolism elevated and burning calories for hours afterward. Because it takes time to restore energy and repair tissue, your metabolism will remain elevated. One of the main reasons why HIIT is so effective .
# HIIT Is Good For Fat Loss.

During an HIIT workout, both fats and carbohydrates are used as fuel. Because you’re working out at a high intensity, your body will burn more calories, resulting in more fat and carbohydrate burning. Additionally, while your body recovers, you will continue to burn fat throughout the day.
# HIIT Has A Lot Of Health Advantages.
HIIT has been shown to improve both cardiovascular and muscular function. HIIT improves the body’s ability to use oxygen efficiently, blood pressure, and insulin sensitivity, all of which help to prevent diseases like heart disease and Type 2 diabetes.
How Can You Avoid Knee Pain During HIIT Workout ?
Warm-Up And Cool-Down Are So Important.

Push yourself to get out of bed, as tempting as it may be to press snooze one more time and skip a warmup.
It’s important for people with knee pain to properly warm up and cool down.
Warm up with dynamic stretching or active movements that allow your joints and muscles to move through their full range of motion. Tube walking (wearing a resistance band around your ankles while walking side to side) or a five- to ten-minute light workout session are two examples.
You might feel compelled to quickly exit your exercise app at the end of your class.But, once again, you’ll want to remain completely still throughout the cooldown.
For those with knee problems, gentle lower-body stretching is a safe way to cool down after HIIT exercise.
Take It Slow
It’s difficult to slow down and concentrate on your body while the music is blasting and your classmates are charging ahead. However, commit to performing the first few reps of each new circuit or exercise slower than normal. After you’ve perfected your shape, increase the pace. Concentrate on moving from the middle.
You can prevent injuries and see results much quicker if you move more mindfully, even if it means slowing down. Throughout the lesson, keep reminding yourself to draw your naval inwards towards your spine.
Make Some Changes
Some exercises hurt your knees ?
Do not attempt to push through the discomfort. Modify the motion to make it more suitable for your body.
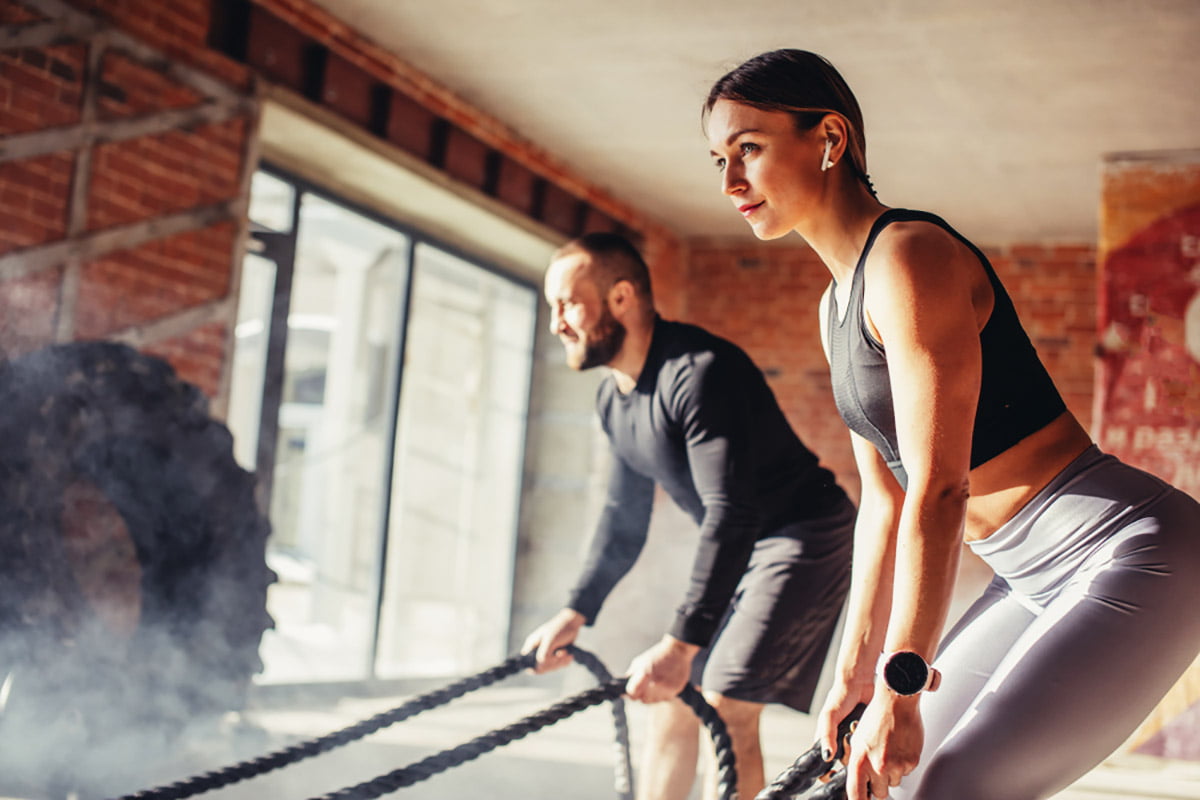
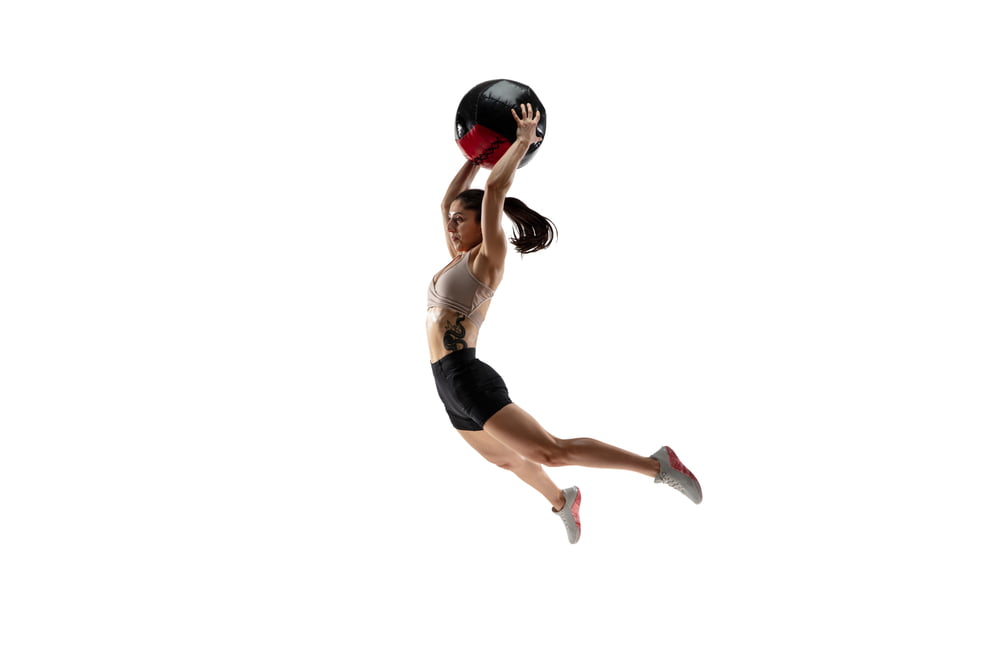
Switching from lower-body to upper-body HIIT moves is an easy way to change up HIIT workouts. The rowing machine, battle ropes, and overhead medicine ball slams are all examples.
You may also alter or turn up complex movements to reduce the pressure on your knees.
Switching from jumping jacks or jumping rope to mountain climbers or even the sled push is another example of changing a traditional HIIT exercise. Both of these knee-friendly exercises will raise the heart rate.
Instead of squat jumps, consider kettlebell swings, which work the legs, glutes, and hamstrings in the same way that squats do while also raising the heart rate.
Substitute step-ups for box jumps: Step onto the box and lift yourself up with one leg until it’s straight, then slowly lower yourself down to the starting point. You can do the same amount of reps on both legs.
Do Your Jumps Safely
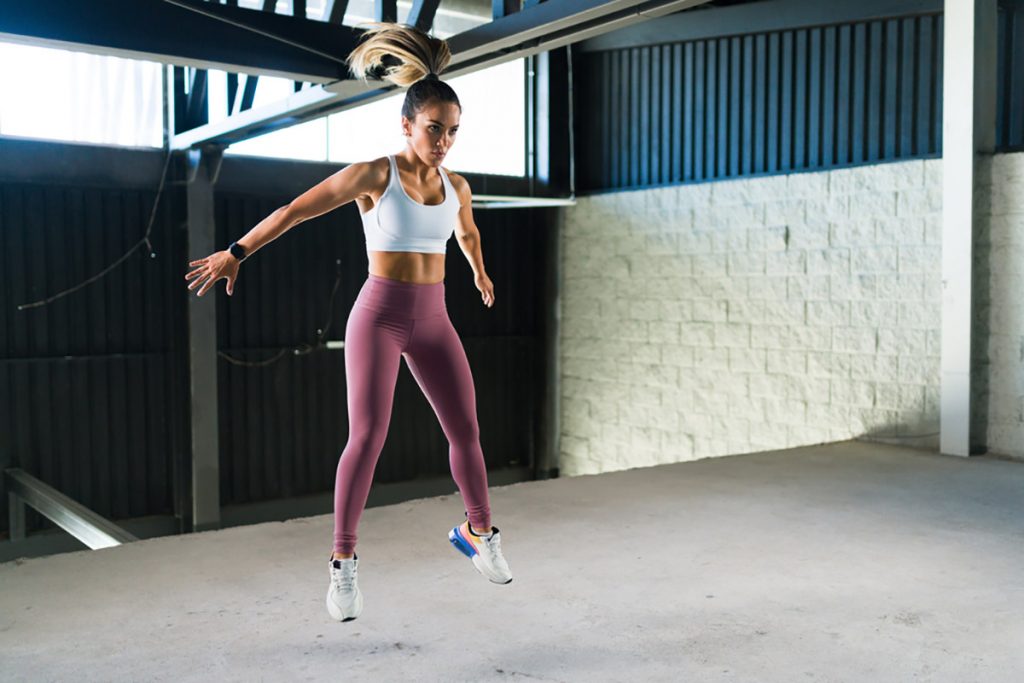
If you’re having trouble getting rid of the “thud,” try halving your jump height. Make the jumps lower to the ground if you’re doing jumping lunges so you can keep your knees bent and manage the movement better. If jumping isn’t an option, make the leap into a toe reach.
Simply stand up and press up onto your tip toes while stretching your arms up, still bending your knees as if you were going to run. That’s how you’ve altered your hop. Bend your knees as if you’re about to leap, then stand tall (without coming to your tip toes) and stretch your arms up overhead.
Don’t Throw Yourself On The Floor
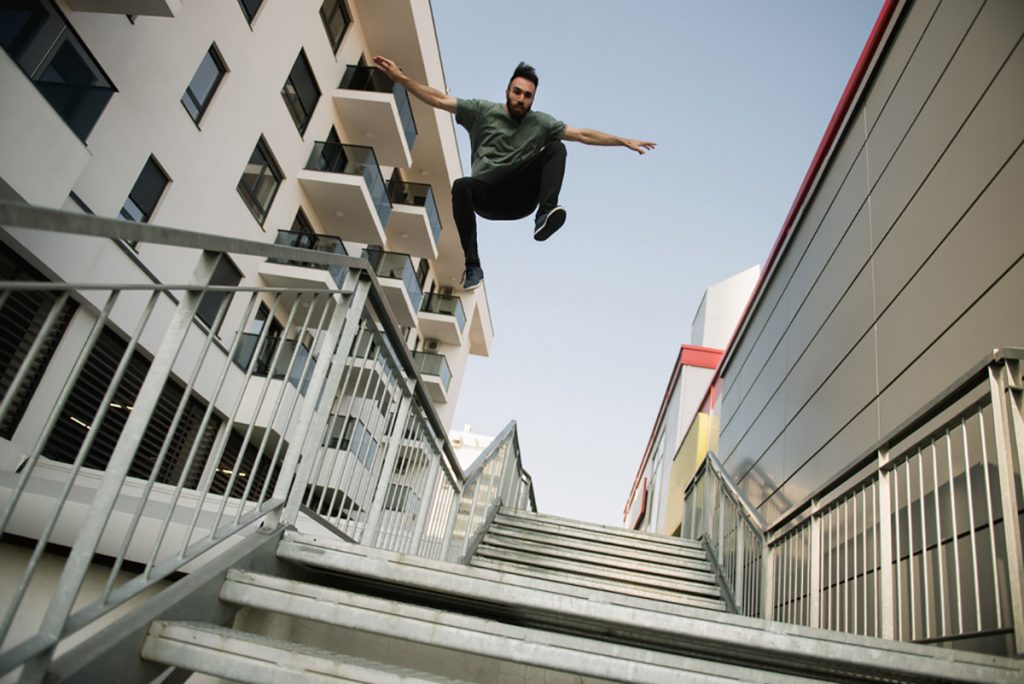
When doing exercises like burpees and jump squats, keep the knees slightly bent. Landing gently with a gentle bend in the knees allows the muscles in your legs to stimulate and regulate the forces that are being applied to your knees and joints.
There are two ways to practice landing softly: Consider jumping up and down on a hard wood floor while someone is sleeping underneath you; your aim is to keep them from waking up. Another strategy is to listen to how you land: if you hear a loud “thud,” you’re probably putting too much weight on your knee joint and not recruiting enough of your leg core muscles to soften the blow. Try not to make a sound when you land.
Best 3 HIIT Workouts For Bad Knees
# Upper Body HIIT Workout For Bad Knees
Mostly begin with a ten to fifteen minute warm-up. Do each move for 20 seconds and don’t stop until the set is over. After each set, take a 45-second break and then begin again. Four to seven set should be completed !
# Medicine Ball Slam

- Stand on your feet shoulder-width apart.
- By spiking your hips back and chopping down with your upper body, raise the med ball above your head and forcefully slam it to the floor immediately in front of your feet.
- On the rebound, catch the ball and lift it again!
# Push Ups

- Lie down on floor at chest level, put your hand just outside your shoulder-width.
- Squeeze your glutes and lift your entire body off the floor until your elbows are locked out and secure.
- Drop to your knees and drive from there if this is too hard for you right now.
# Renegade Rows
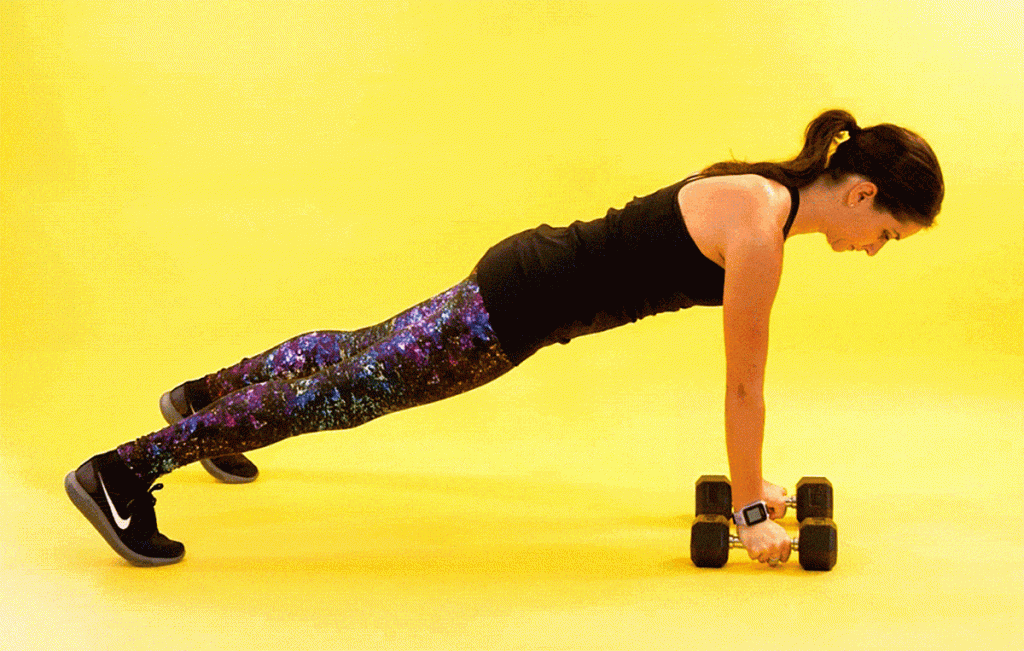
- Come up on only your hands and feet, facing the cement.
- Weight should be in one hand.
- Pull the weight up by bending your elbow and pushing your shoulder blade back towards your spine until you’re finished.
- Your rib cage can only barely touch the weight.
- Place it down, then do it again.
# Russian Twists
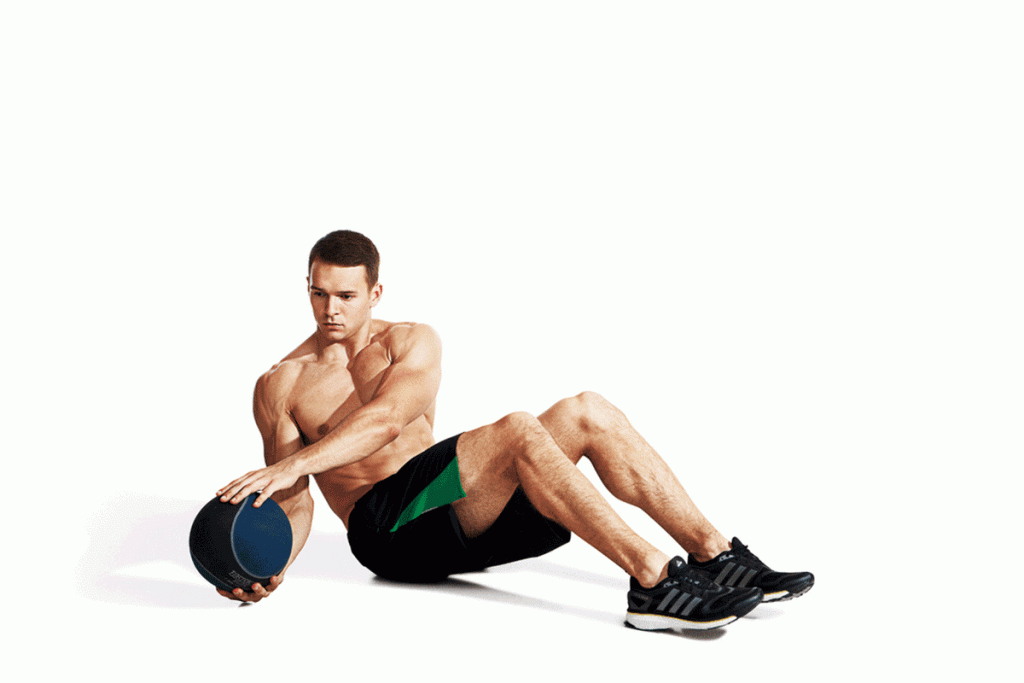
- Sit on the floor and lean back until the abs start to turn on.
- Keep your pose and keep your heels on the floor.
- Now, press your hands together as in prayer, then turn to one side until you feel resistance in your abs.
- Switch the directions and repeat it.
# Modified Pull Up
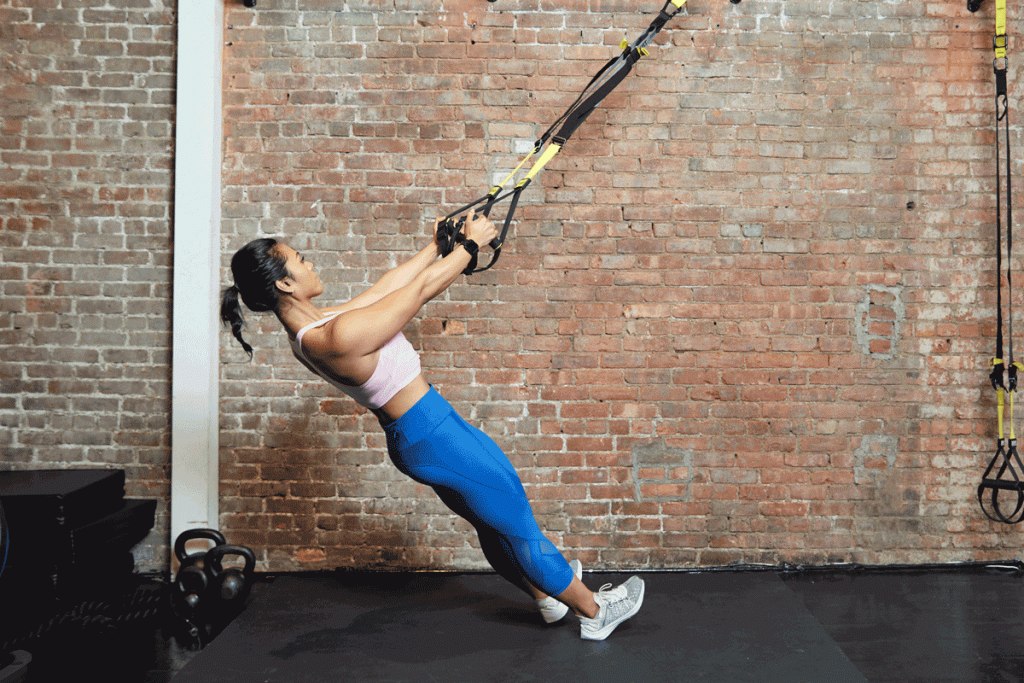
- Grab the pull-up bar approximately beyond the width of the shoulder.
- Before pulling your body weight up, make sure to lower your shoulder blades to the back.
- Once they’re secure, start pulling from that location until your triceps meet your rib cage.
- Release, and then repeat the process.
# Lower Body HIIT Workout For Bad Knees
Lower body work is important to maintain your strength and function, particularly if you have poor knees. Again, complete four to seven sets of 20 seconds per exercise, with a maximum rest of 45 seconds between each set.
# Glute Bridges
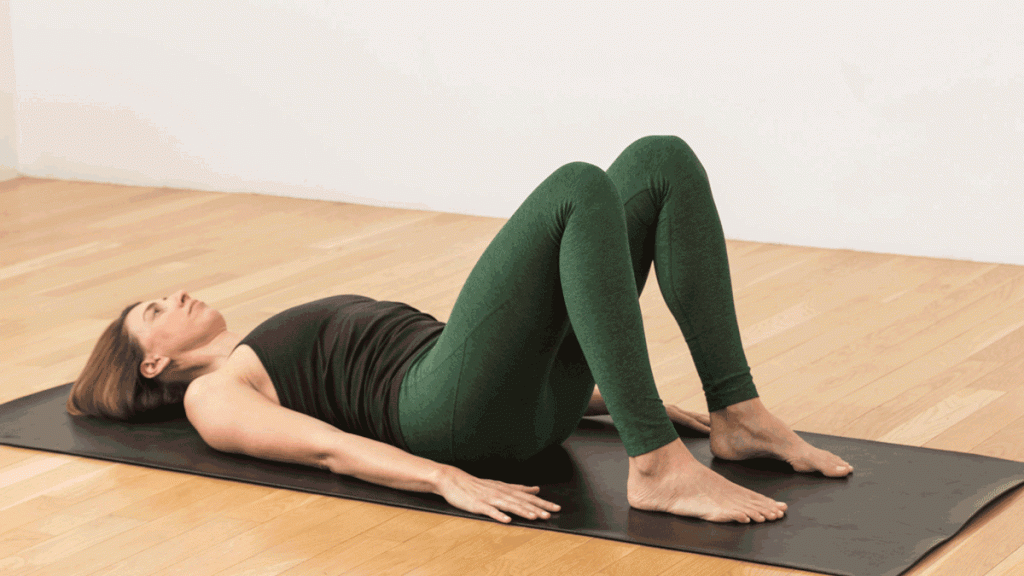
- Lie down on your back with your hands bent on your arms, your knees bent, and your feet flat on the floor under your knees.
- Tighten your abdominal and buttocks muscles by lowering your lower back to the ground before you lift it up.
- Lift your hips to make a straight line from your knees to your shoulders.
- Squeeze your center and bring your belly button close to your spine.
- Hold for 20 to 30 seconds, then go back to your starting spot.
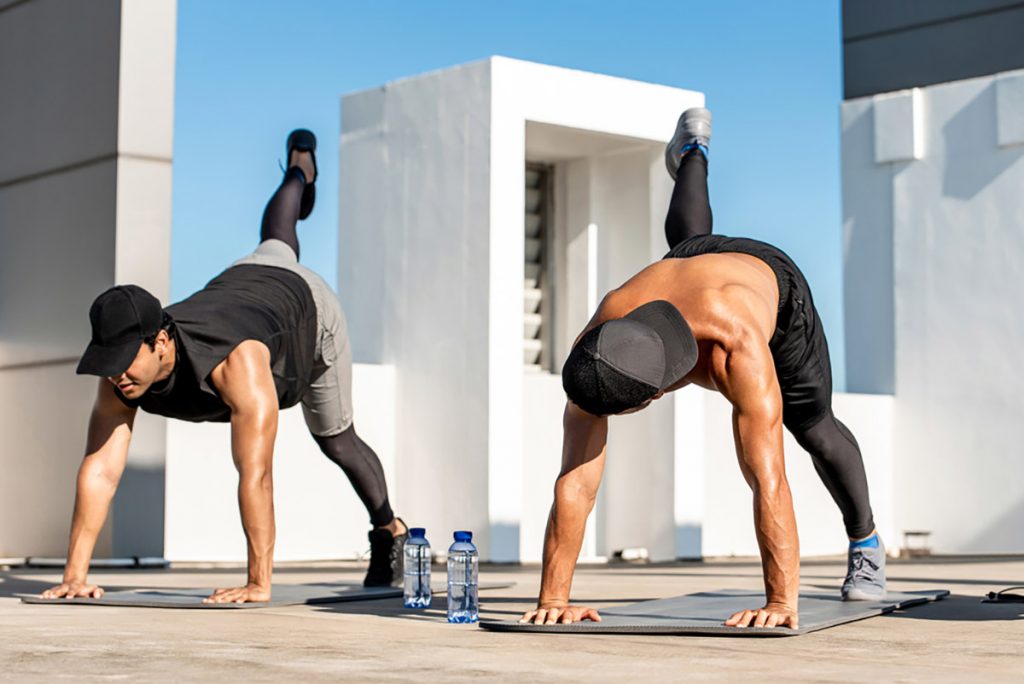
# Plank Leg Raise
- Start in a plank position with your shoulder-width hands apart. Your shoulders, hips, and ankles are supposed to be in a line.
- Keep the abs engaged and raise the right leg off the floor until it’s about the height of the hip. Keep your foot flexed.
- Pause and feel the burning. Then lower the right leg back to the floor.
- Repeat with the left leg.
# Side Lying Leg Raise
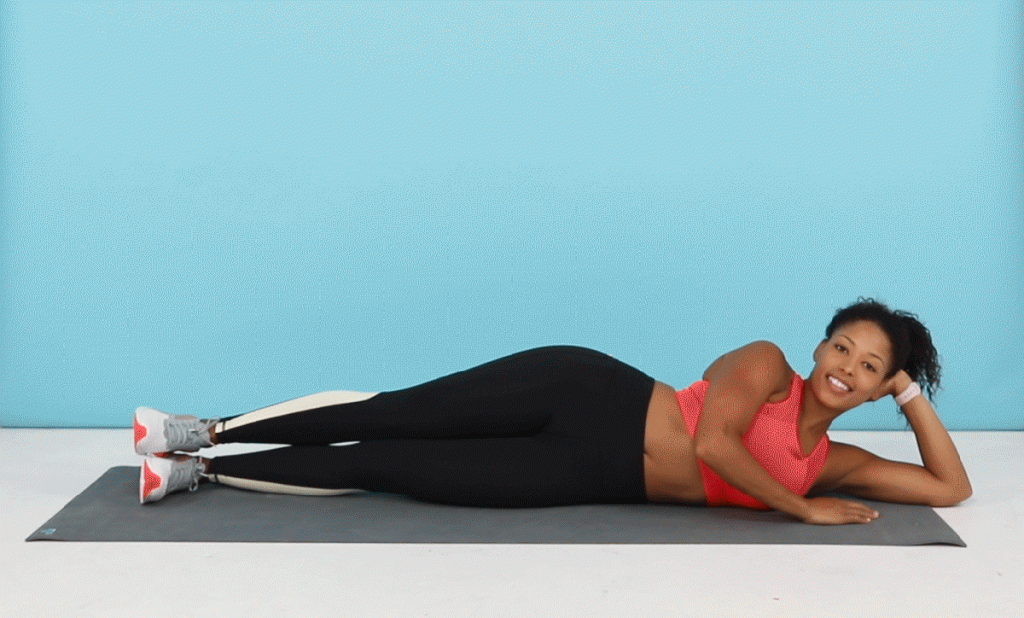
- Lying on your side, check the alignment of your feet, knees, hips, shoulders, and ears.
- Move your legs slightly in front of you .
- Protect your head on your palm, or stretch out your lower arm to the side, and rest your head on it. Your arm positioning is only for balance; you’re supposed to engage your heart to raise your legs.
- Pull back the abdominal muscles.
- Inhale, allowing the body to lengthen as the breath flows down the entire length of your spine.
- When you exhale, engage your abdominals and raise your legs off the mat for a few inches.
- Focus on holding your inner legs together from your bones to your toes.
- Inhale as you lower your legs back down to the mat, elongating your body in controlled motion.
# Side Plank
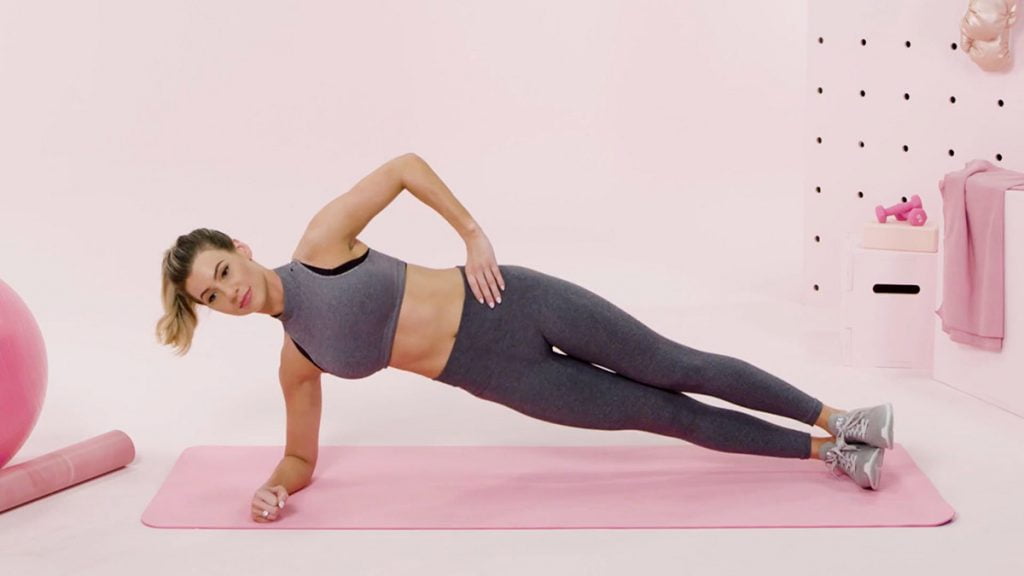
- Lie on your right side with your legs straight and your legs stacked on top of each other. Place your right elbow under your right shoulder with your forearm pointing away from you with your hand balled into your fist. Inside of your hand should be in contact with the ground.
- Breathe out with a neutral neck and brace your heart.
- Lift your hips off the mat to support your weight on your elbow and the side of your right foot. Your body should be straight from your ankles to your shoulders.
- Hold the spot for the remainder of the exercise. Depending on your fitness level, aim for between 15 and 60 seconds.
- Repeat to the left.
# Standing High Knee Raise
- Start by standing with your hip-distance legs apart, look straight ahead, and hold your upper body straight.
- Raise your left leg to the hip-height when you’re standing on your right foot ball.
- Hit the ground below your center of mass with your left foot ball as you raise your right leg to the hip-height.
- Continue to alternate sides and move on.
# Full Body HIIT Workout For Bad Knees
The same with other workouts : Complete four to seven sets of 20 seconds per exercise, with a maximum rest of 45 seconds between each set.
# Bear Crawls
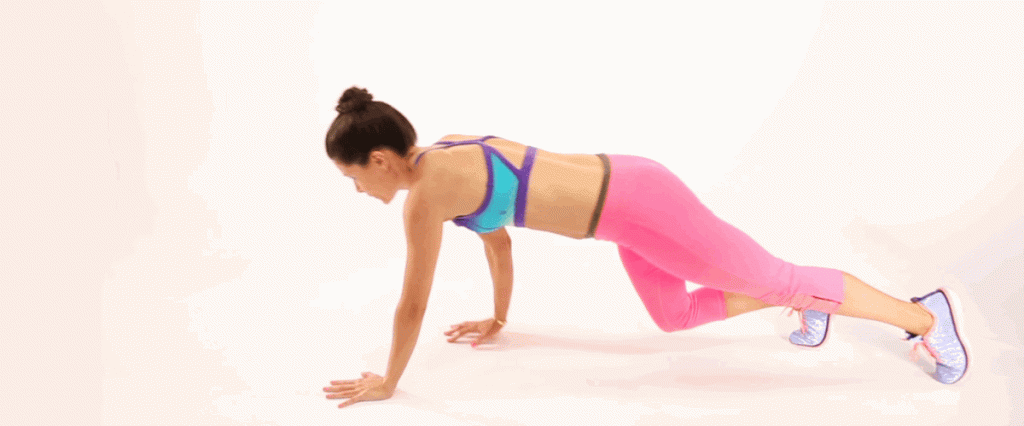
- Start all fours and raise your knees to a 90-degree angle, hovering an inch off the ground. Keep your back flat, your hip-width legs apart, your shoulder-width arms apart.
- Move one hand and the other foot forward at an equal distance while remaining low to the ground.
- Switch the sides, move the opposite hand and foot.
- Repeat while switching sides of the movement.
# Side Plank With Cable Row

- Set the cable machine to the lowest position with the D-handle attached and assume the position of the side-plank—propped up on the elbow, legs straight, heart close, legs stacked.
- Facing the cable, hit the cable with your top side, make sure it is completely extended before pulling.
- Drive through your forearm and the sides of your legs to keep your hips off the floor.
- Row the weight on your right, with your elbow on your side. Don’t let your hips rotate.
# Overhead Press
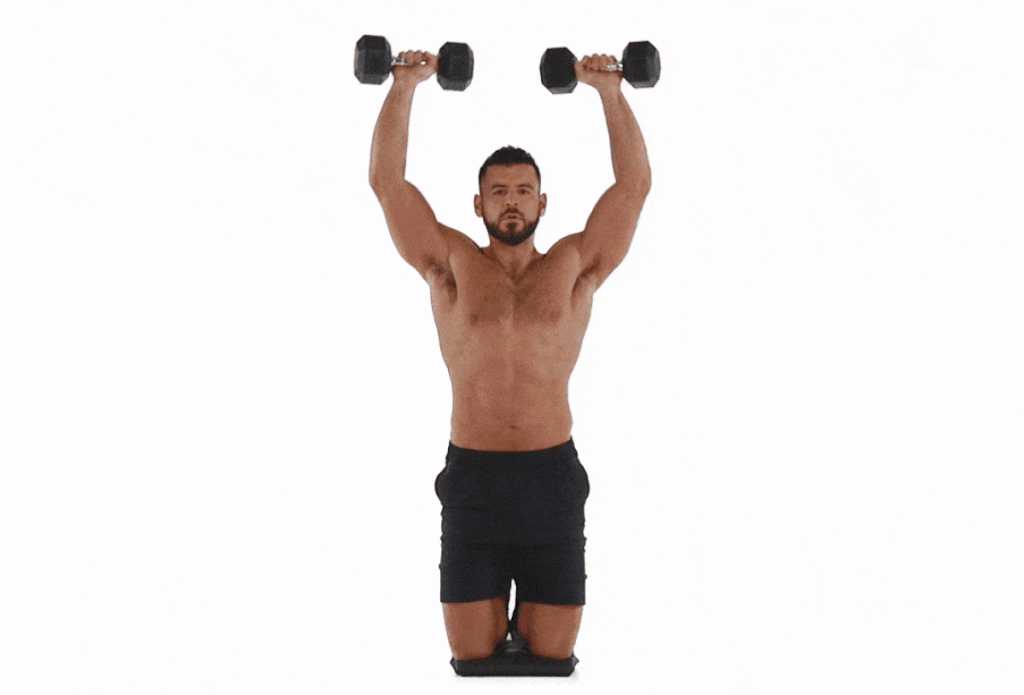
- Stand vertical and keep your back straight.
- Hold a dumbbell in each hand on the shoulders with an overhand grip. Thumbs are supposed to be on the inside and knuckles face up.
- Lift the weights above the head in synchronized movements while exhaling. Pause at the top of the move.
- Return the dumbbells to the shoulder while inhaling.
- Repeat it.
# Glute Bridges

- Lie down on your back with your hands bent on your arms, your knees bent, and your feet flat on the floor under your knees.
- Tighten your abdominal and buttocks muscles by lowering your lower back to the ground before you lift it up.
- Lift your hips to make a straight line from your knees to your shoulders.
- Squeeze your center and bring your belly button close to your spine.
- Hold for 20 to 30 seconds, then go back to your starting spot.
# Mountain Climbers
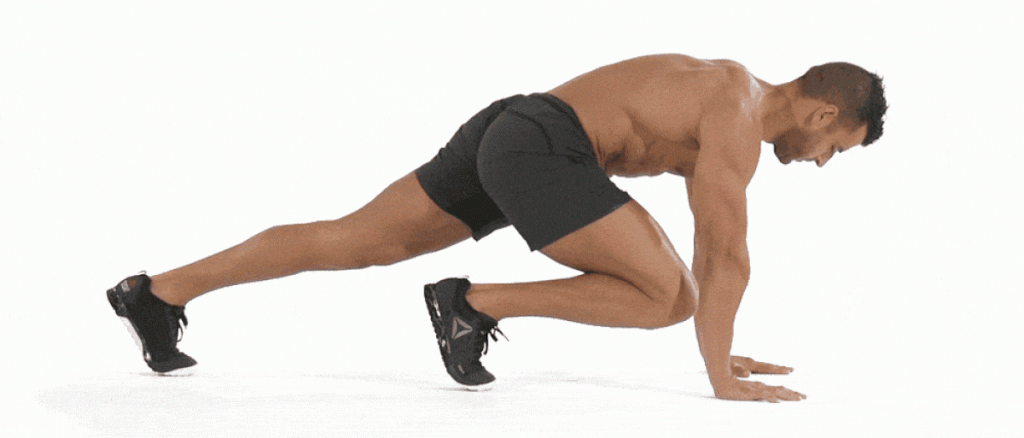
- Put both your hands and your knees on the floor.
- Place your right foot next to your right hand and stretch your left leg behind you.
- Move your legs in one fluid motion, holding your arms in the same place.
- Turn your legs back and forth twice, so that your right leg is next to your right hand again.
Important Notes :
Check Yourself Regularly

Instructors can’t keep an eye on the shape of others at all times, so watch yourself in the mirror and keep an eye on your own.
Often people get into a group situation and feel the need to ‘match’ the capabilities of their neighbors or push themselves too far. This is problematic because the skill and fitness levels of all are different. Plus, your neighbor might not use the right type either, so copying is not always the best bet.
If you’re very concerned about the strength of the HIIT class, we suggest that you take a low-impact HIIT class instead of a high-impact one. This way, when you get used to movements, you can avoid the risk of injury.
Don’t be shy to say if something is too hard or if you don’t know how to adjust exercises to meet your needs. You should often ask your coach to modify the low impact of high impact exercises.
Don’t Do It If It Doesn’t Feel Right.
The lack of ankle mobility is more widespread than you think it is. You should go back to the basics to avoid injury. If it doesn’t feel right, don’t do it—like jumping or over-extending. You don’t have to force yourself to that degree.


